Create a Fluid
A fluid is a collection of points that are simulated with effects such viscosity, elasticity and tension. For this demo we will first create a 2D fluid that resembles water.
Create a new Fluid2D node
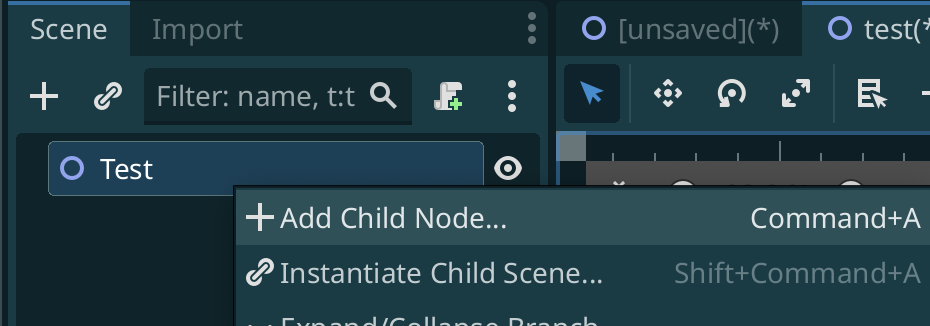
Create a new 2D Scene in Godot. In the newly created scene go to the Scene tab create a new Fluid2D node by right clicking on the root node and selecting Add child node:
In the resulting window select the Fluid2D node and select Create:
If you don't see the Fluid2D node it means you either didn't install the plugin or didn't restart the editor after installing it. See Getting Started
Create points on the Fluid2D node
Points are what simulate the fluid. For now lets create a single point and see it being simulated.
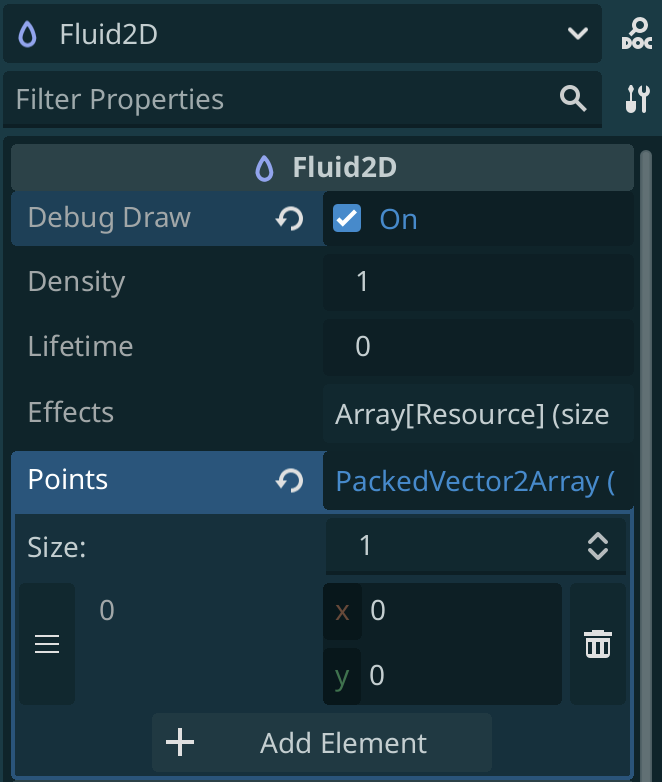
Click on the node you previously created, and in the inspector enable Debug Draw and add a Point by clicking Add Element:
Simulate the Fluid2D node
Add a Camera2D node. Hit Run Current Scene. You should now see a Fluid Particle falling down.
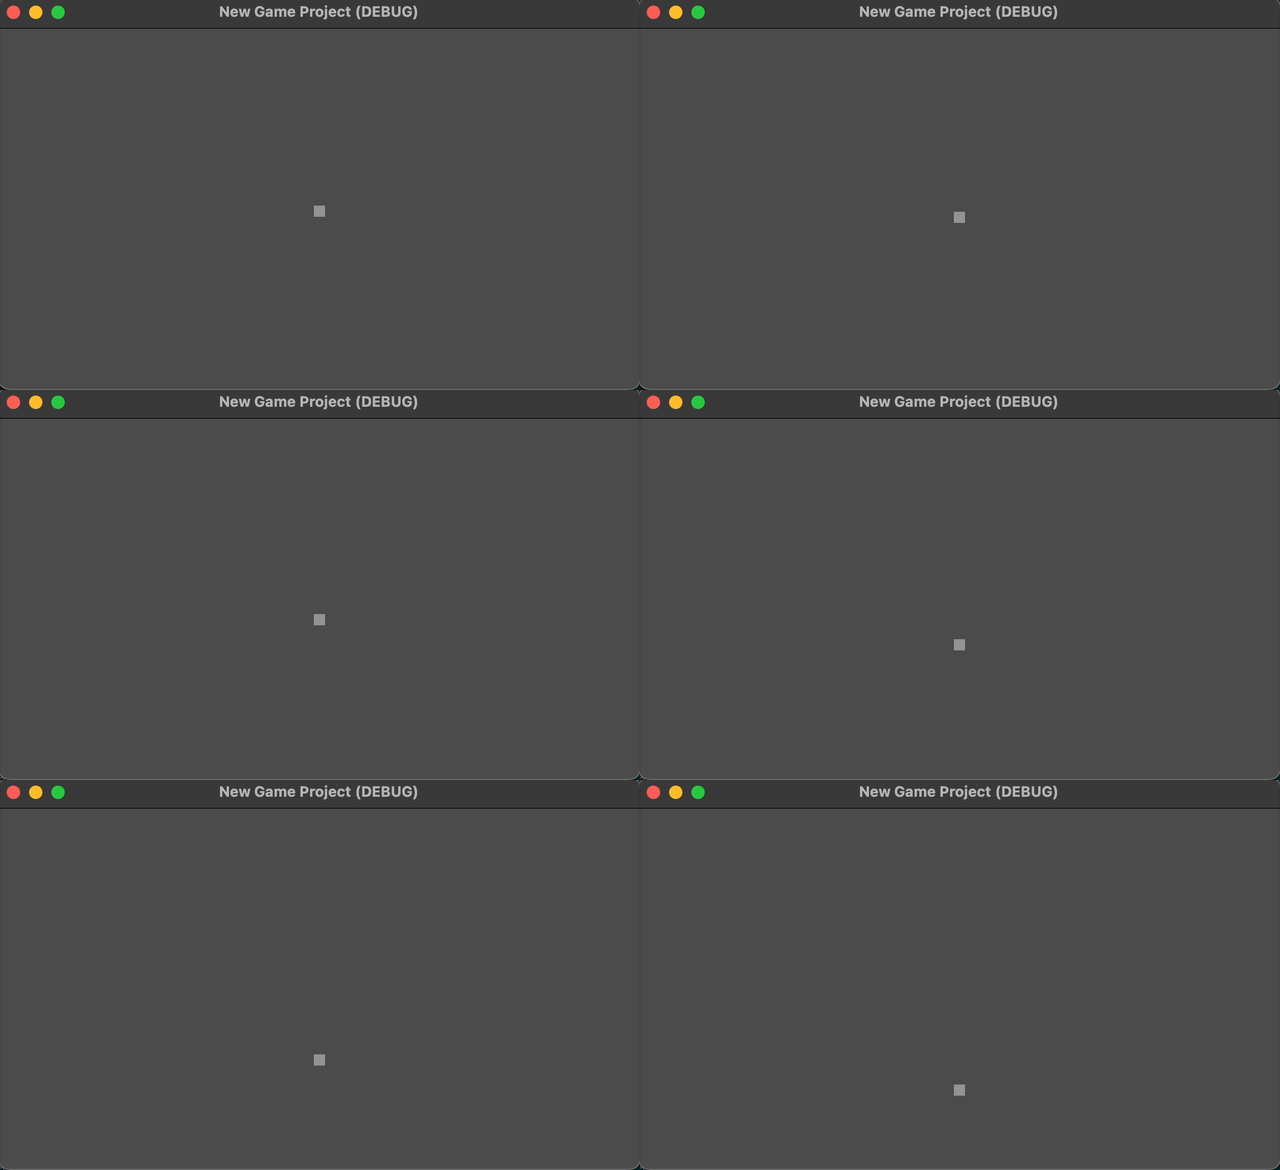
If you don't see the Fluid2D particle falling down, it means you didn't activate the Rapier Physics Engine. See Getting Started
Add more points
If you want to simulate wanter, you need more points. These can be created through code. The addon offers some scripts you can check and modify, however they are meant to be a starting point:
addons/godot-rapier2d/fluid_2d_circle.gd: Creates points inside a circleaddons/godot-rapier2d/fluid_2d_rectangle.gd: Creates points inside a rectangle
Click on the Fluid2D node and set the Script to fluid_2d_circle.gd. Then, set the Circle Radius to 7.
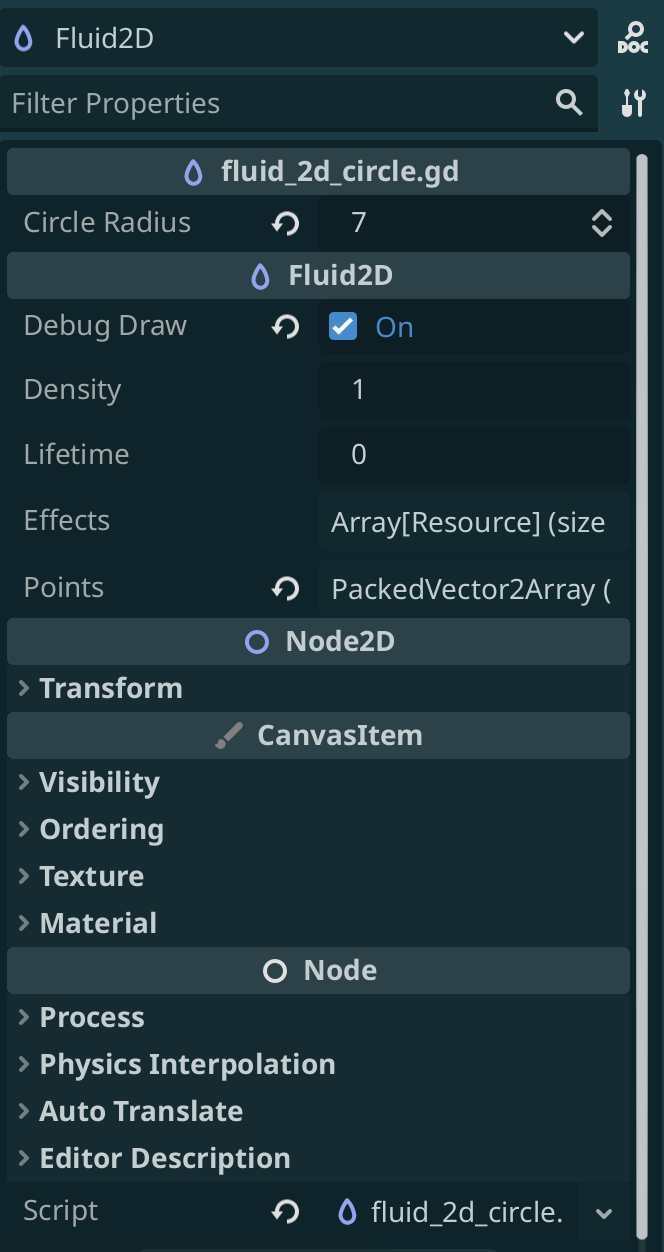
The script works on changes, so if you first add the script it won't do anything. You have to change the Circle Radius property to a different value.
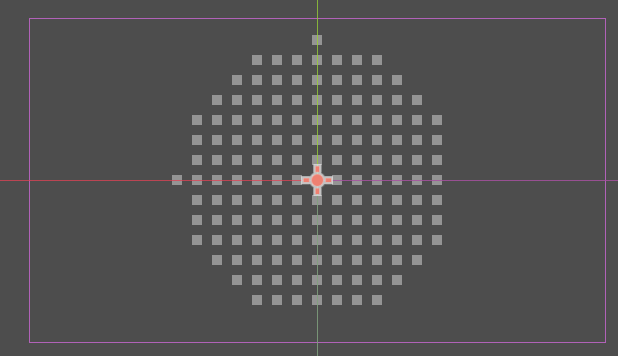
Now you should see this in the editor:
Create a Static Body
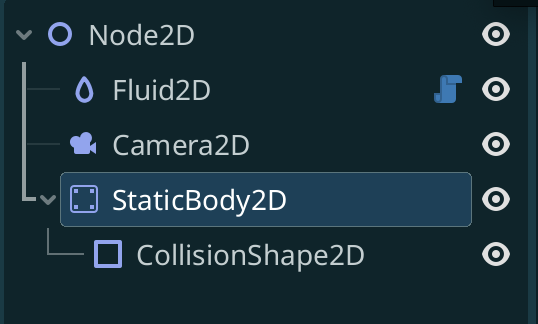
Create a Static Body where the fluid to fall onto. Create a StaticBody2D node, then create a child CollisionShape2D node to that:
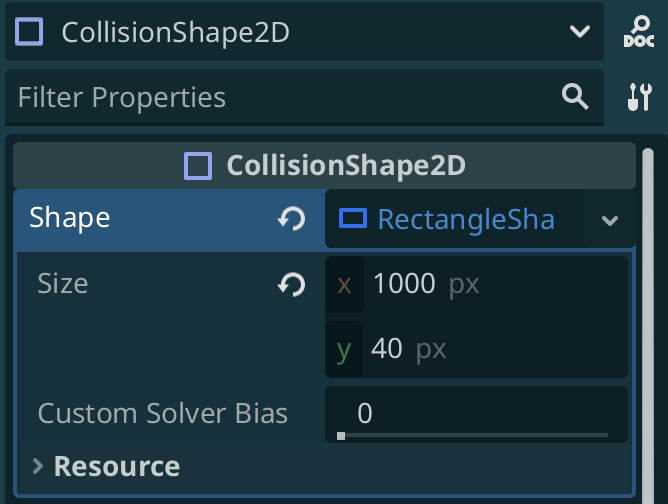
Then click the CollisionShape2D node and set the Shape property to be a RectangleShape with size 1000 x 40:
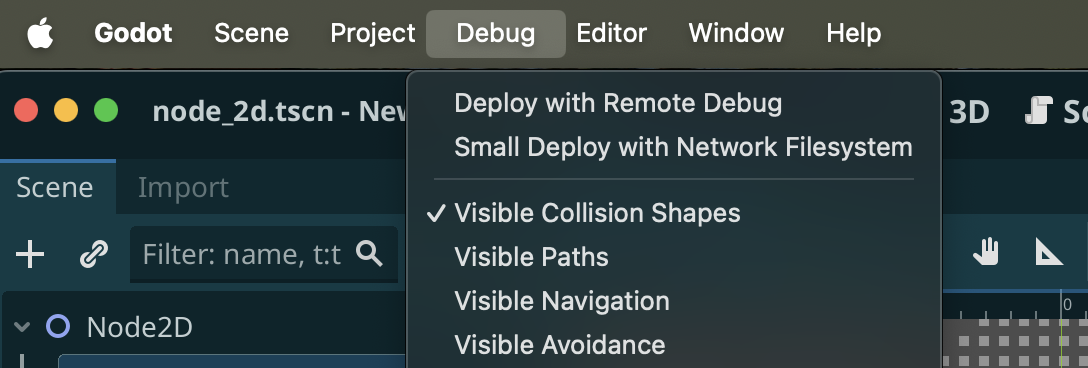
Next, enable Debug -> Visible Collision Shapes in order to view the outline of the Static Body:
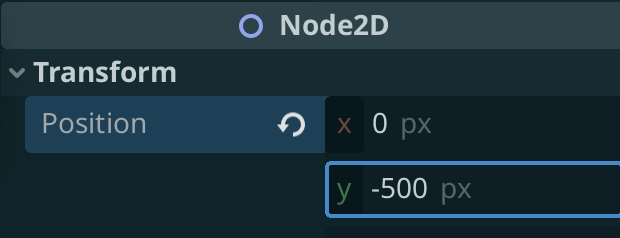
Next, move the Fluid2D node above the Static Body, at Transform 0 x -500:
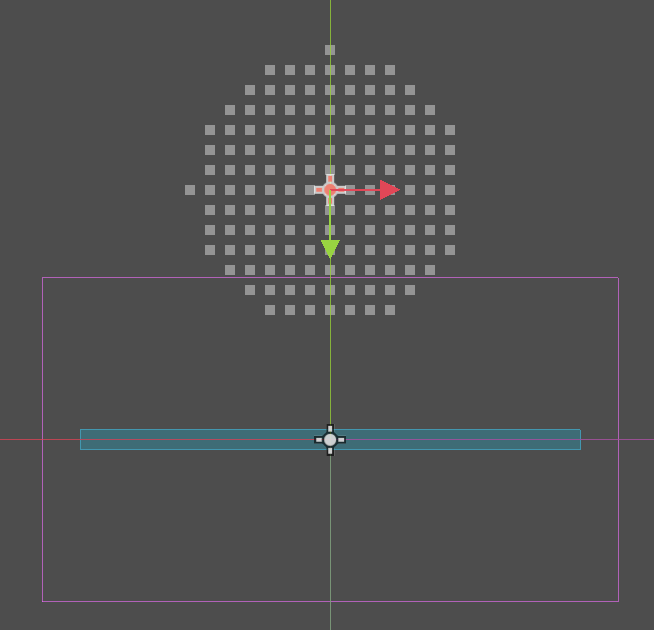
When simulating, it won't look much like water just yet. We need to add Fluid Effects next.
Adding Fluid Effects
Fluid Tension
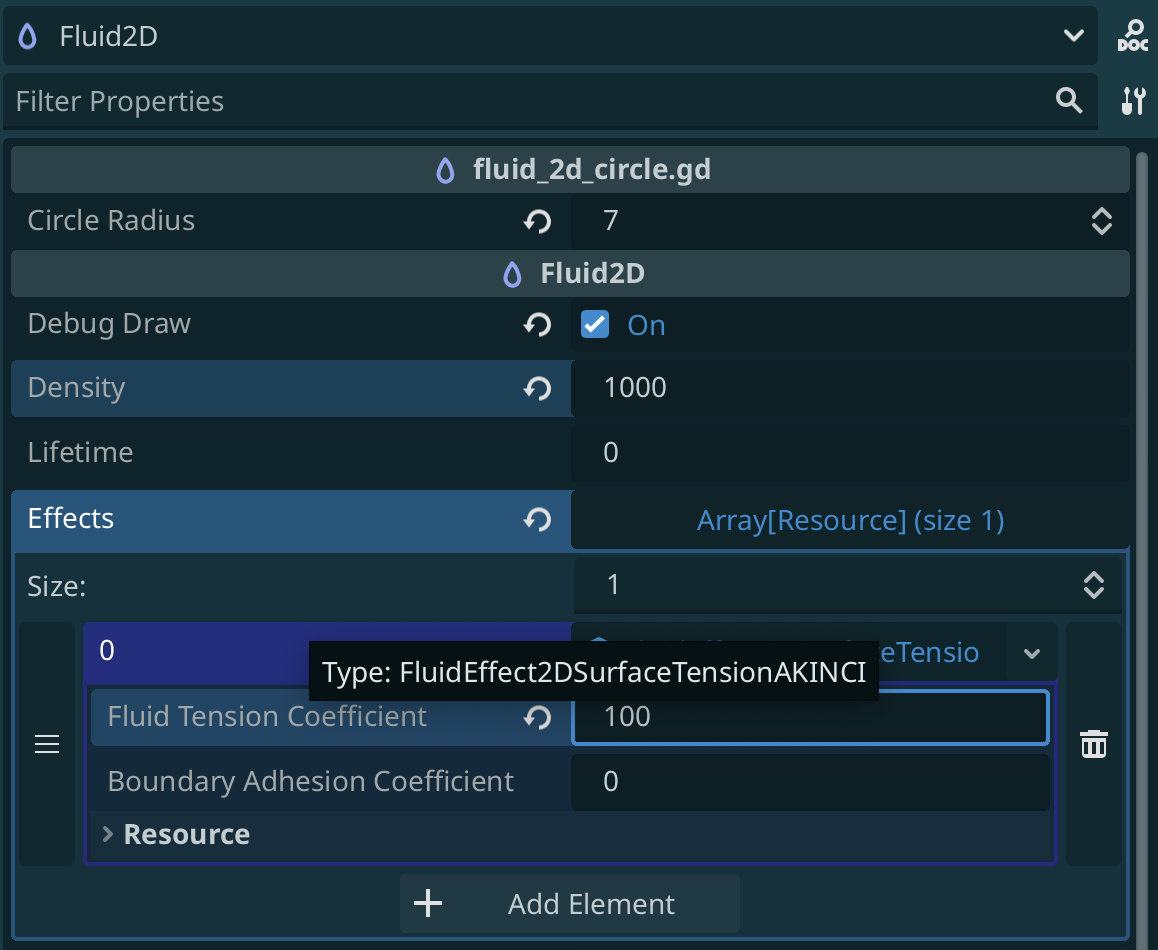
Click on the Fluid2D node in the inspector, set the Density to 1000, add a new Effect of type FluidEffect2DSurfaceTensionAKINCI to the Effects array. Make the Fluid Tension Coefficient to 100.
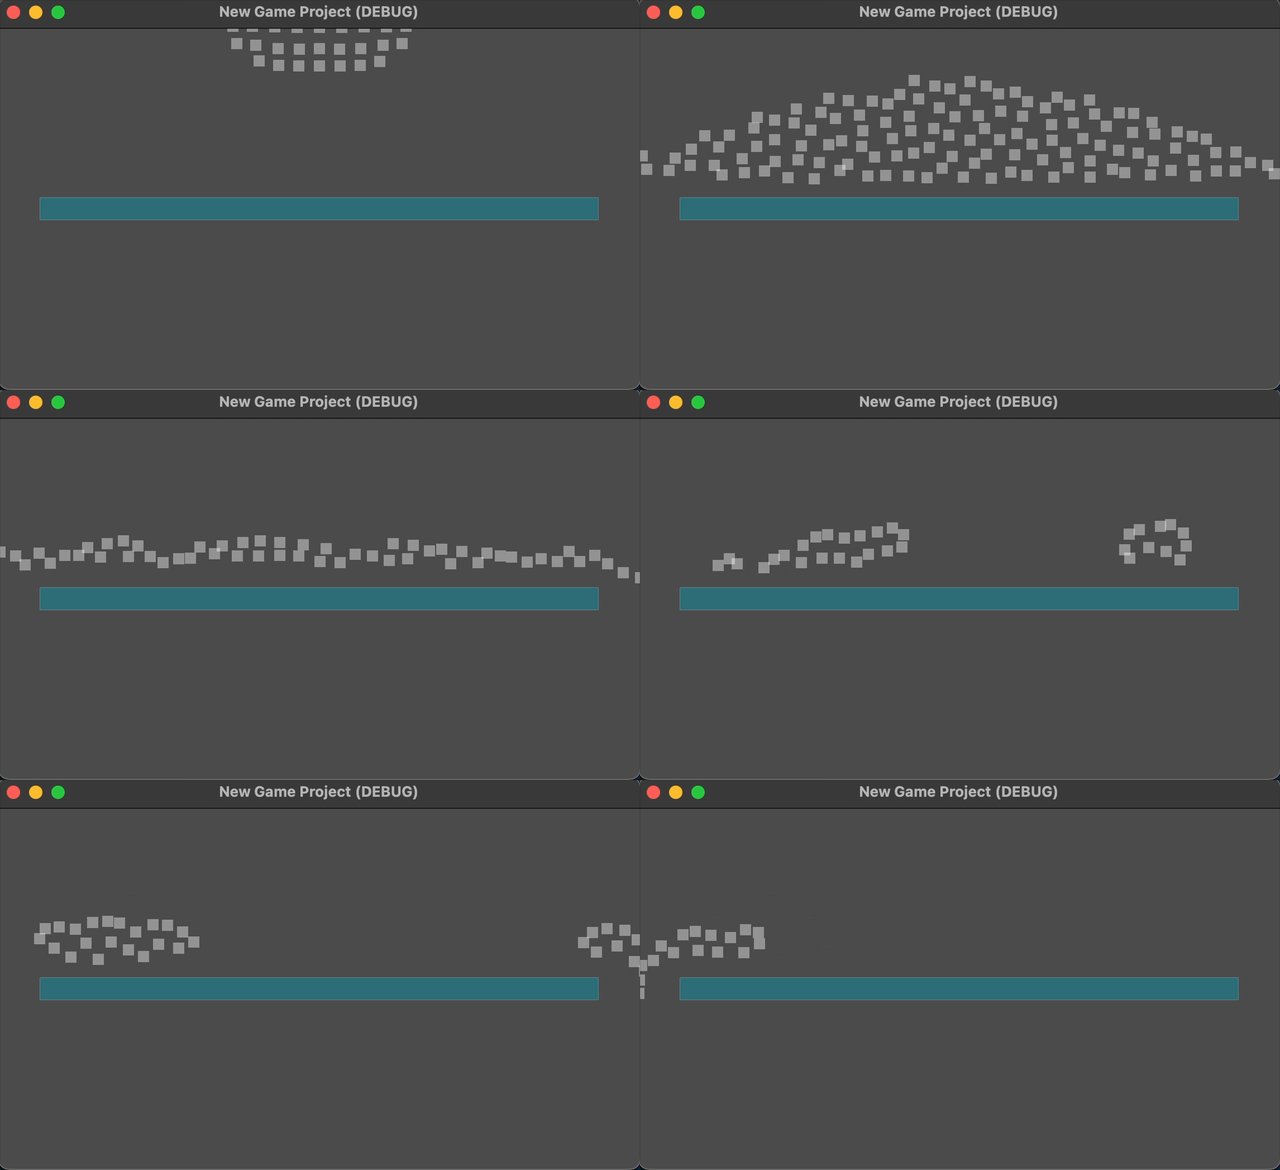
You can experiment with different values and different Surface Tension Effects as well as different densities. Also, changing density of Fluid to 1000 will make it very heavy, so make sure to increase the mass of Rigid Bodies too accordingly.
Fluid Elasticity
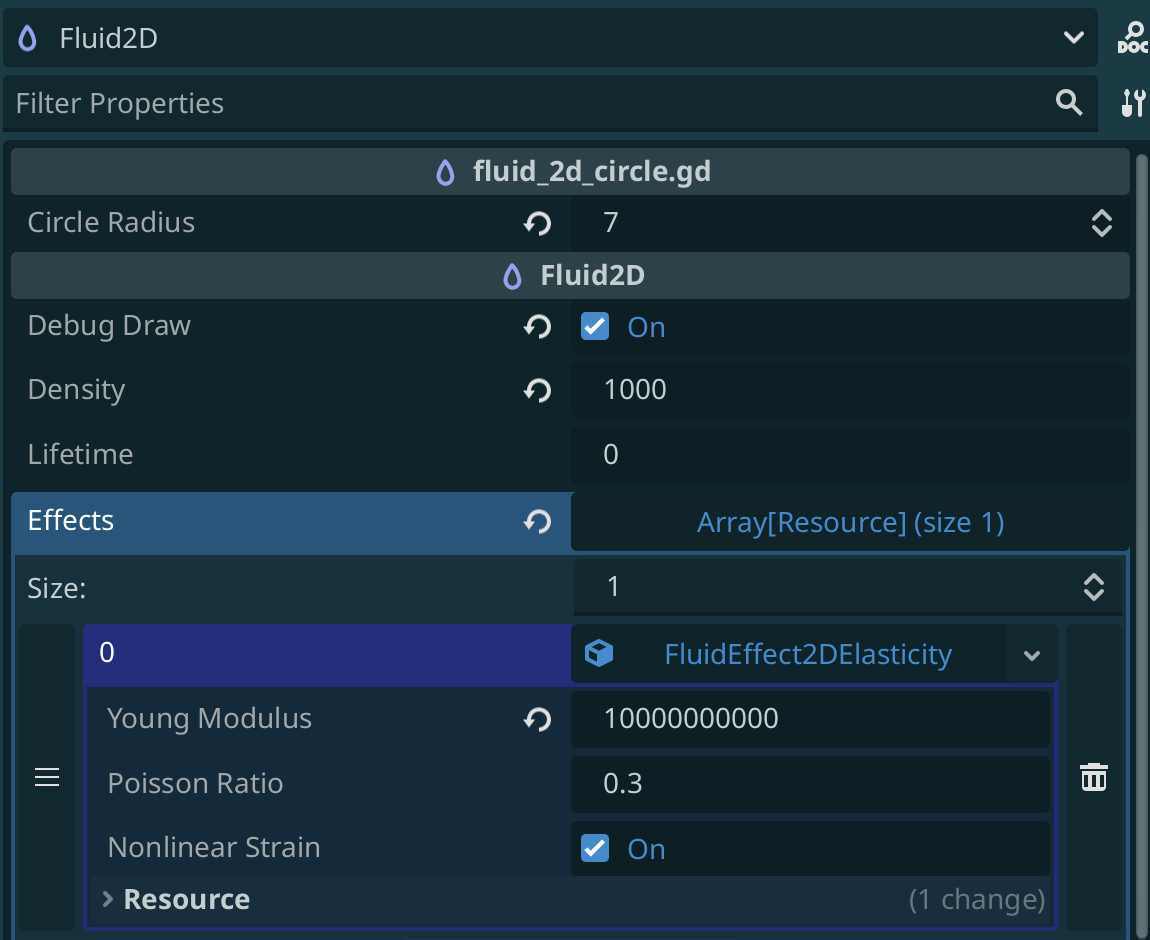
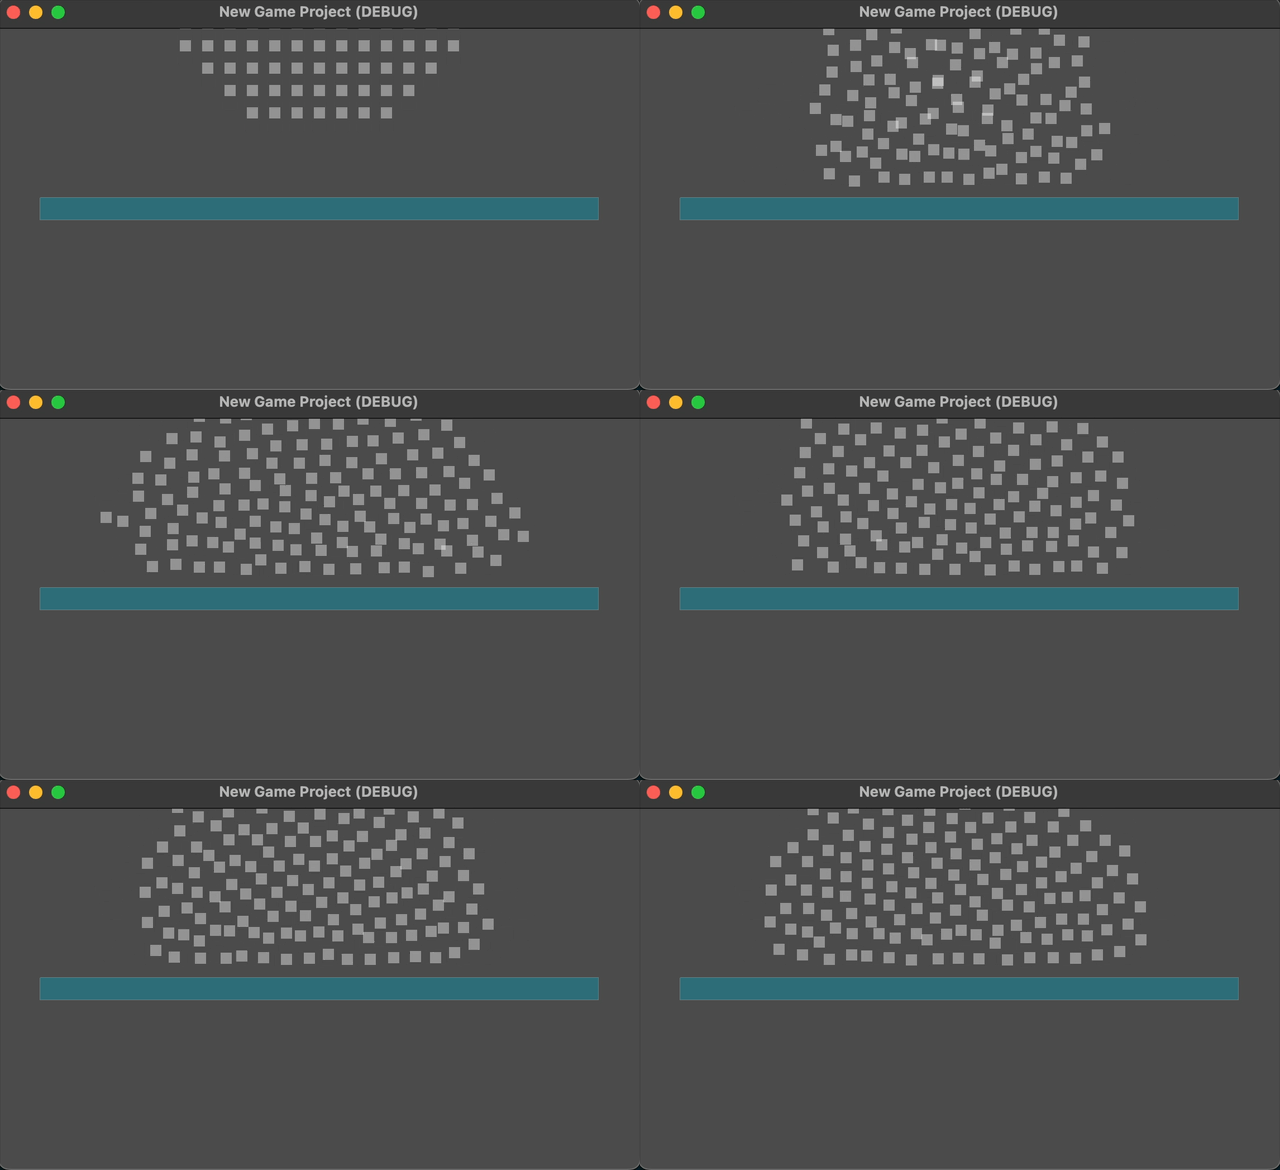
Elasticity makes the fluid act like a softbody almost. For this, go to the Fluid2D node and set an effect of type FluidEffect2DElasticity. Set density to 1000 and Young Modulus to 10000000000 (a high number depending on density).
Fluid Viscousity
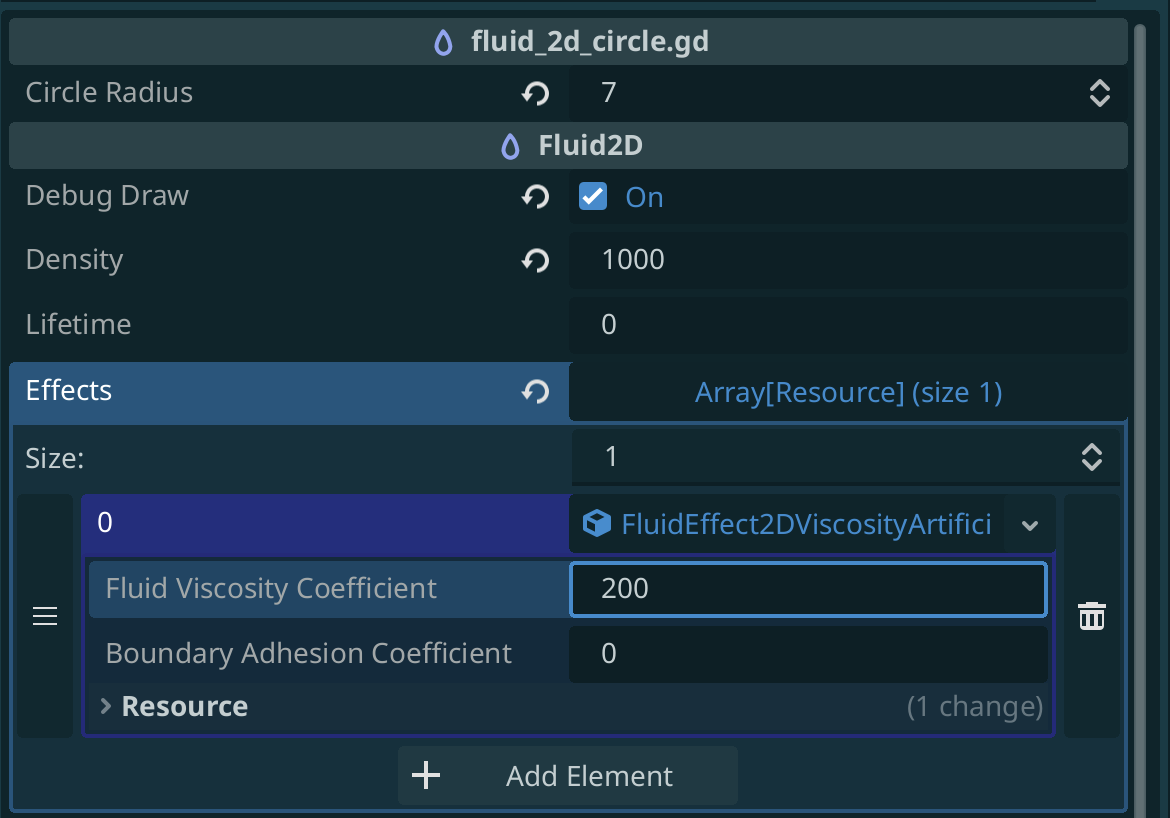
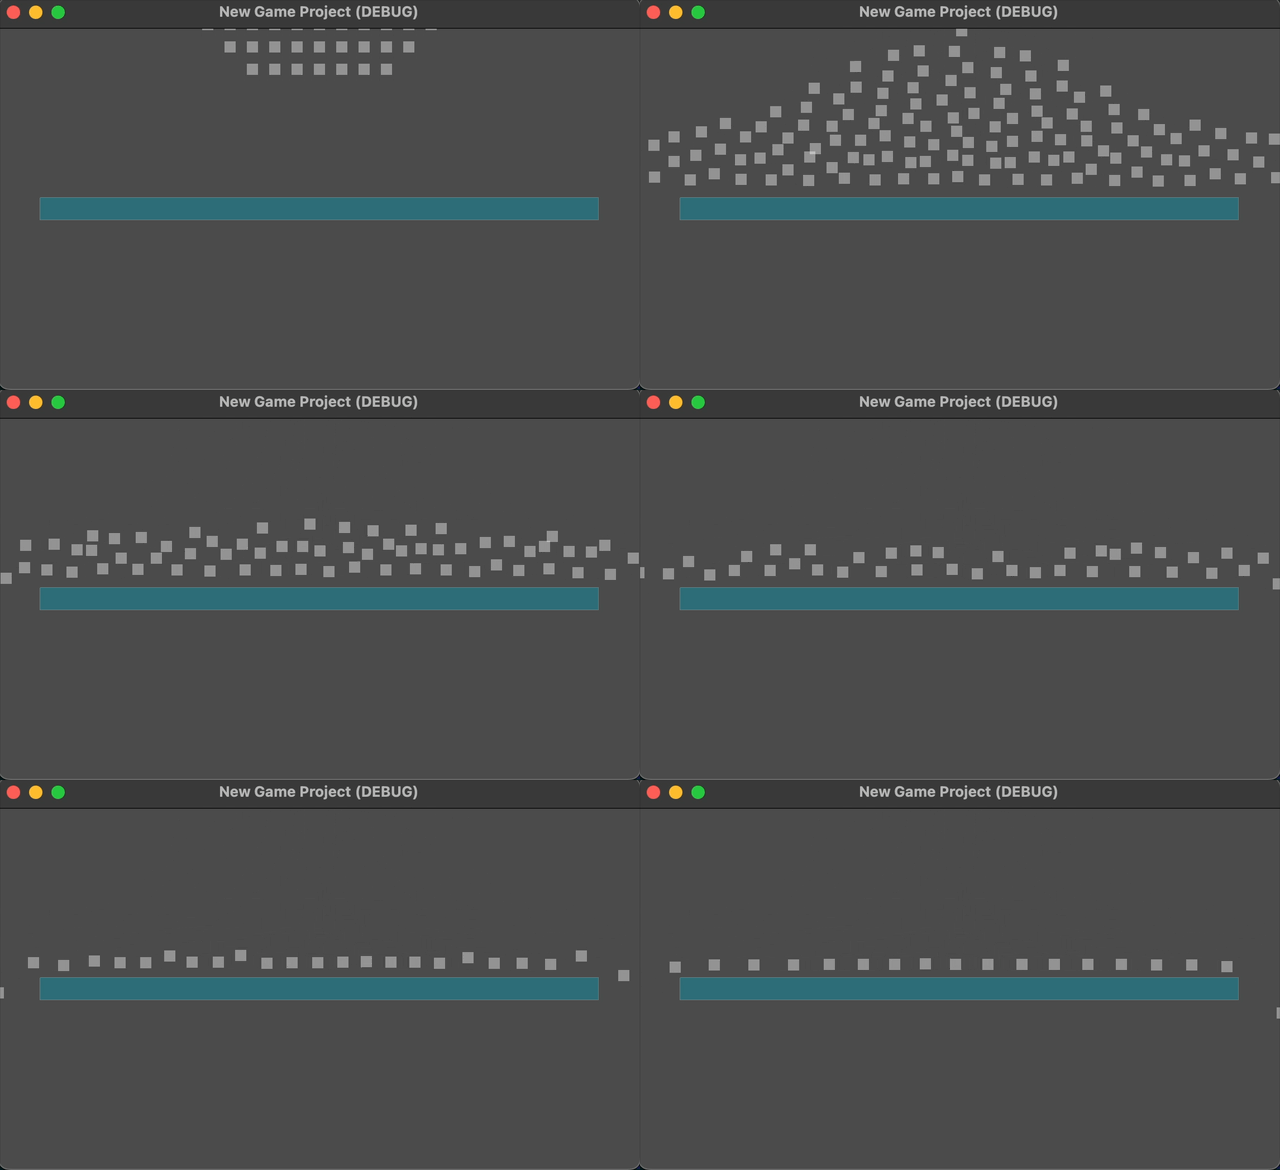
Viscousity makes the fluid act like a goo. For this, go to the Fluid2D node and set an effect of type FluidEffect2DViscosityArtificial (there are also other viscosities you can try). Set density to 1000 and Fluid Viscosity Coefficient to 200 (default value).
Combine different effects
In order to obtain good quality water, you might want to combine Viscosity and Surface Tension. You can also combine other effects and get other liquids (eg. goo, etc.). Be careful as setting values that are too high or too small might result in everything exploding. Try to start from values presented here and slowly change them until you get to the result you want (eg. start from same density and coefficients and slowly change them and watch the results).
Rendering the Fluid
Up until now we rendered the fluid using the Debug Draw option. We will now try other methods that are provided as samples. These are meant as starting point and if there is need for anything extra, the reader is adviced to try and change it for his liking. Usually the different renderers will read the value of Points from the fluid every frame and draw them on screen.
Multi Mesh Fluid Renderer
The most basic renderer is a MultiMeshInstance2D renderer. This is highly optimized for drawing high number of objects. Create a node of type MultiMeshInstance2D and add the sample script addons/godot-rapier2d/fluid_2d_renderer.gd. Then, simply assing your fluid in the Fluid property with the fluid you have in your scene.
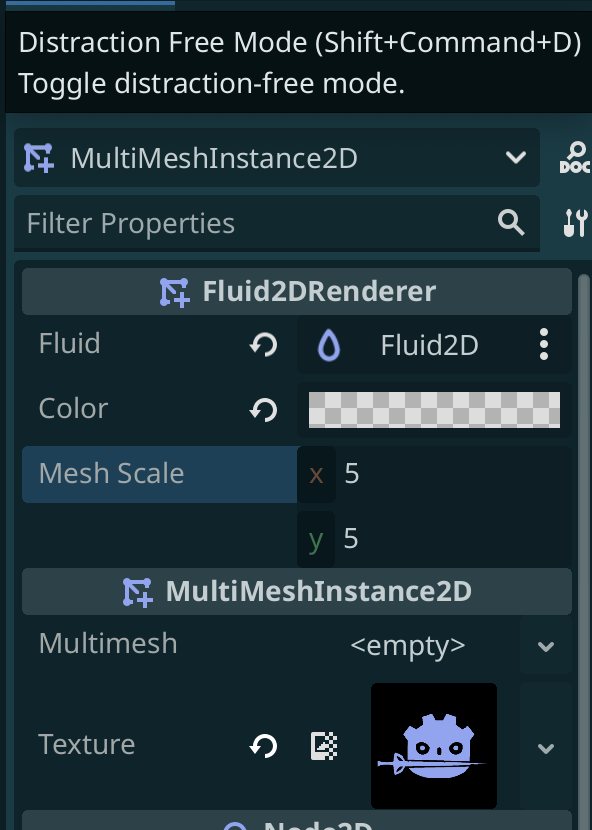
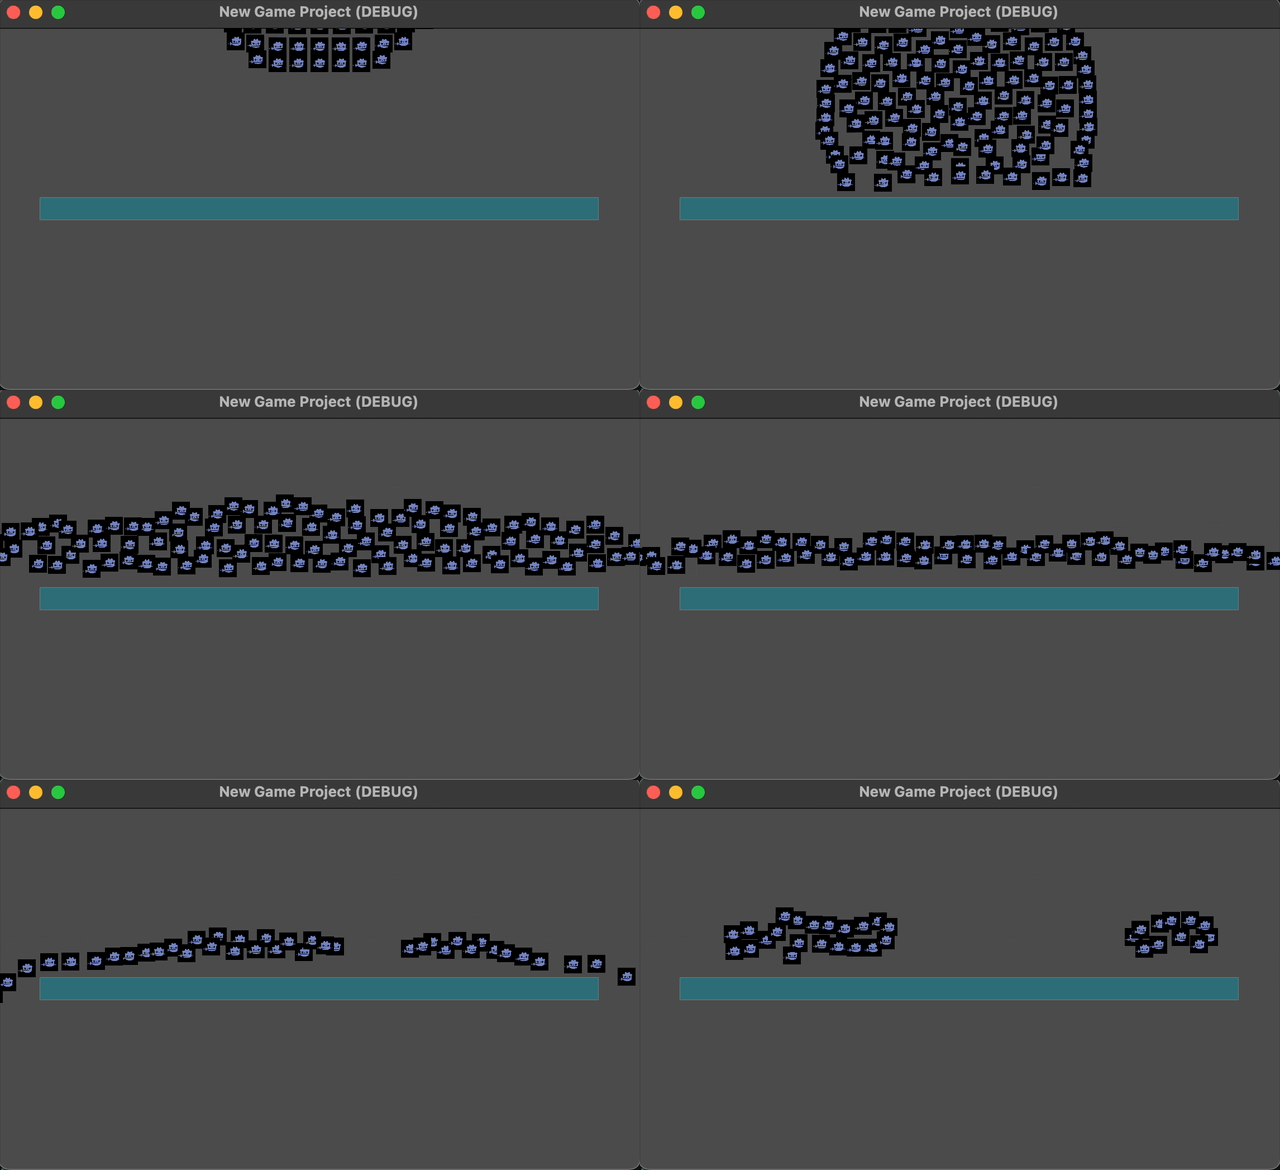
By default this uses the mesh addons/godot-rapier2d/circle_mesh.tres and the texture addons/godot-rapier2d/Radial2D.svg. Lets change some of the properties. Set the Texture to be addons/godot-rapier2d/logo_square_2d.png, the Mesh Scale to be 1,1, and the Color to have 255 alpha (no transparency). Now click run, you should see this:
Shader Fluid Renderer
Now, we will use the previous renderer and apply a shader on top. The idea is similar to how metaballs are drawn. We first draw the circles where the fluid points are, then we apply blur in shader and a cutoff to get a solid color instead of transparency to combine the circles into one object. For this we need to create a Canvas and a separate camera inside it, and inside it a Multi Mesh Instance with a shader attached.
Initially we draw radial circles in a color that we will know in the shader (eg. pink):
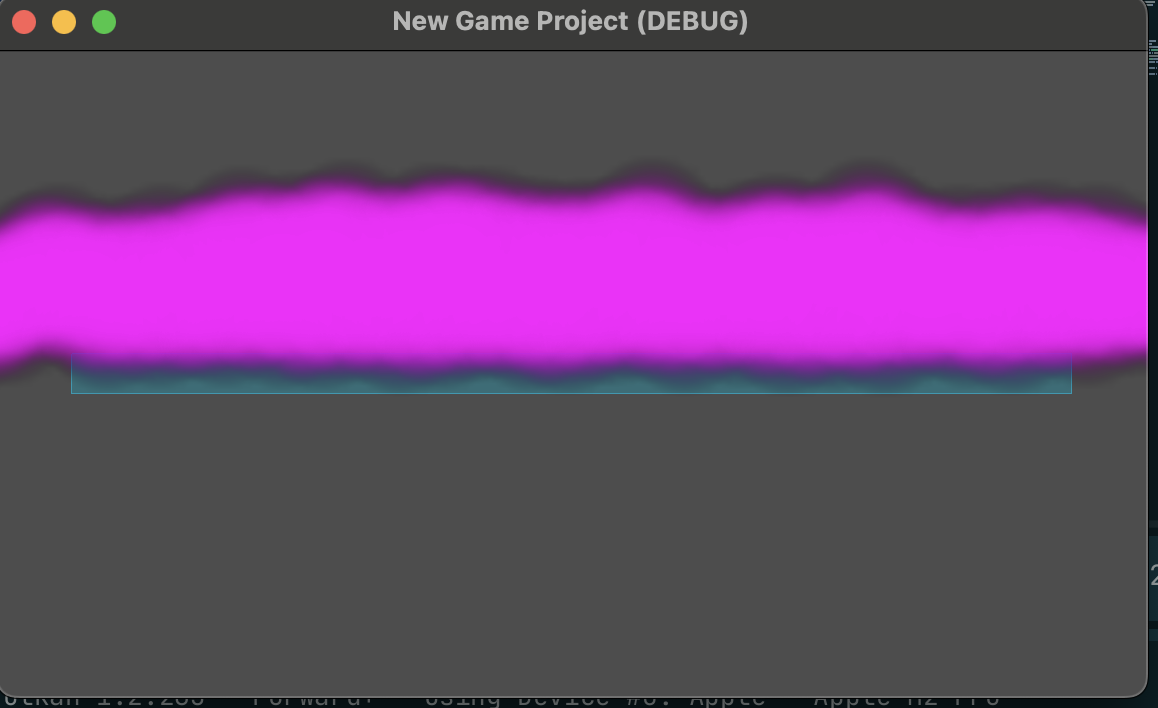
We then apply blur to it, and then cut off anything that is below a certain value (transparency 0.8 in our case). Then, we color everything in a different color (eg. blue)
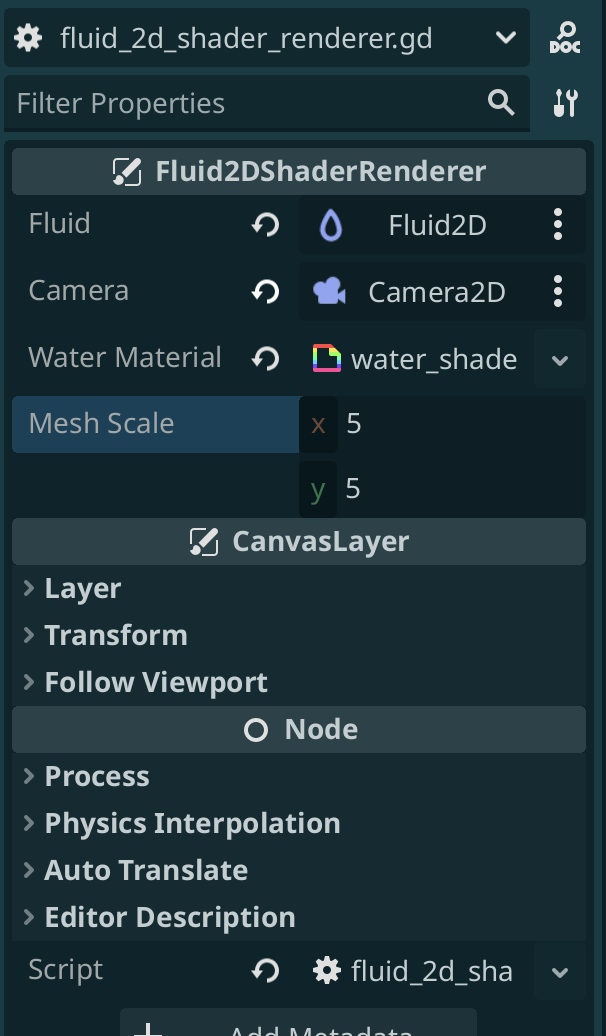
For this we offer a script to quickly get things started: addons/godot-rapier2d/fluid_2d_shader_renderer.gd. Create a node of type CanvasLayer and add to it the script fluid_2d_shader_renderer.gd. Then set the properties as following:
Now, finally, disable the Debug Draw property from the Fluid and click Run:
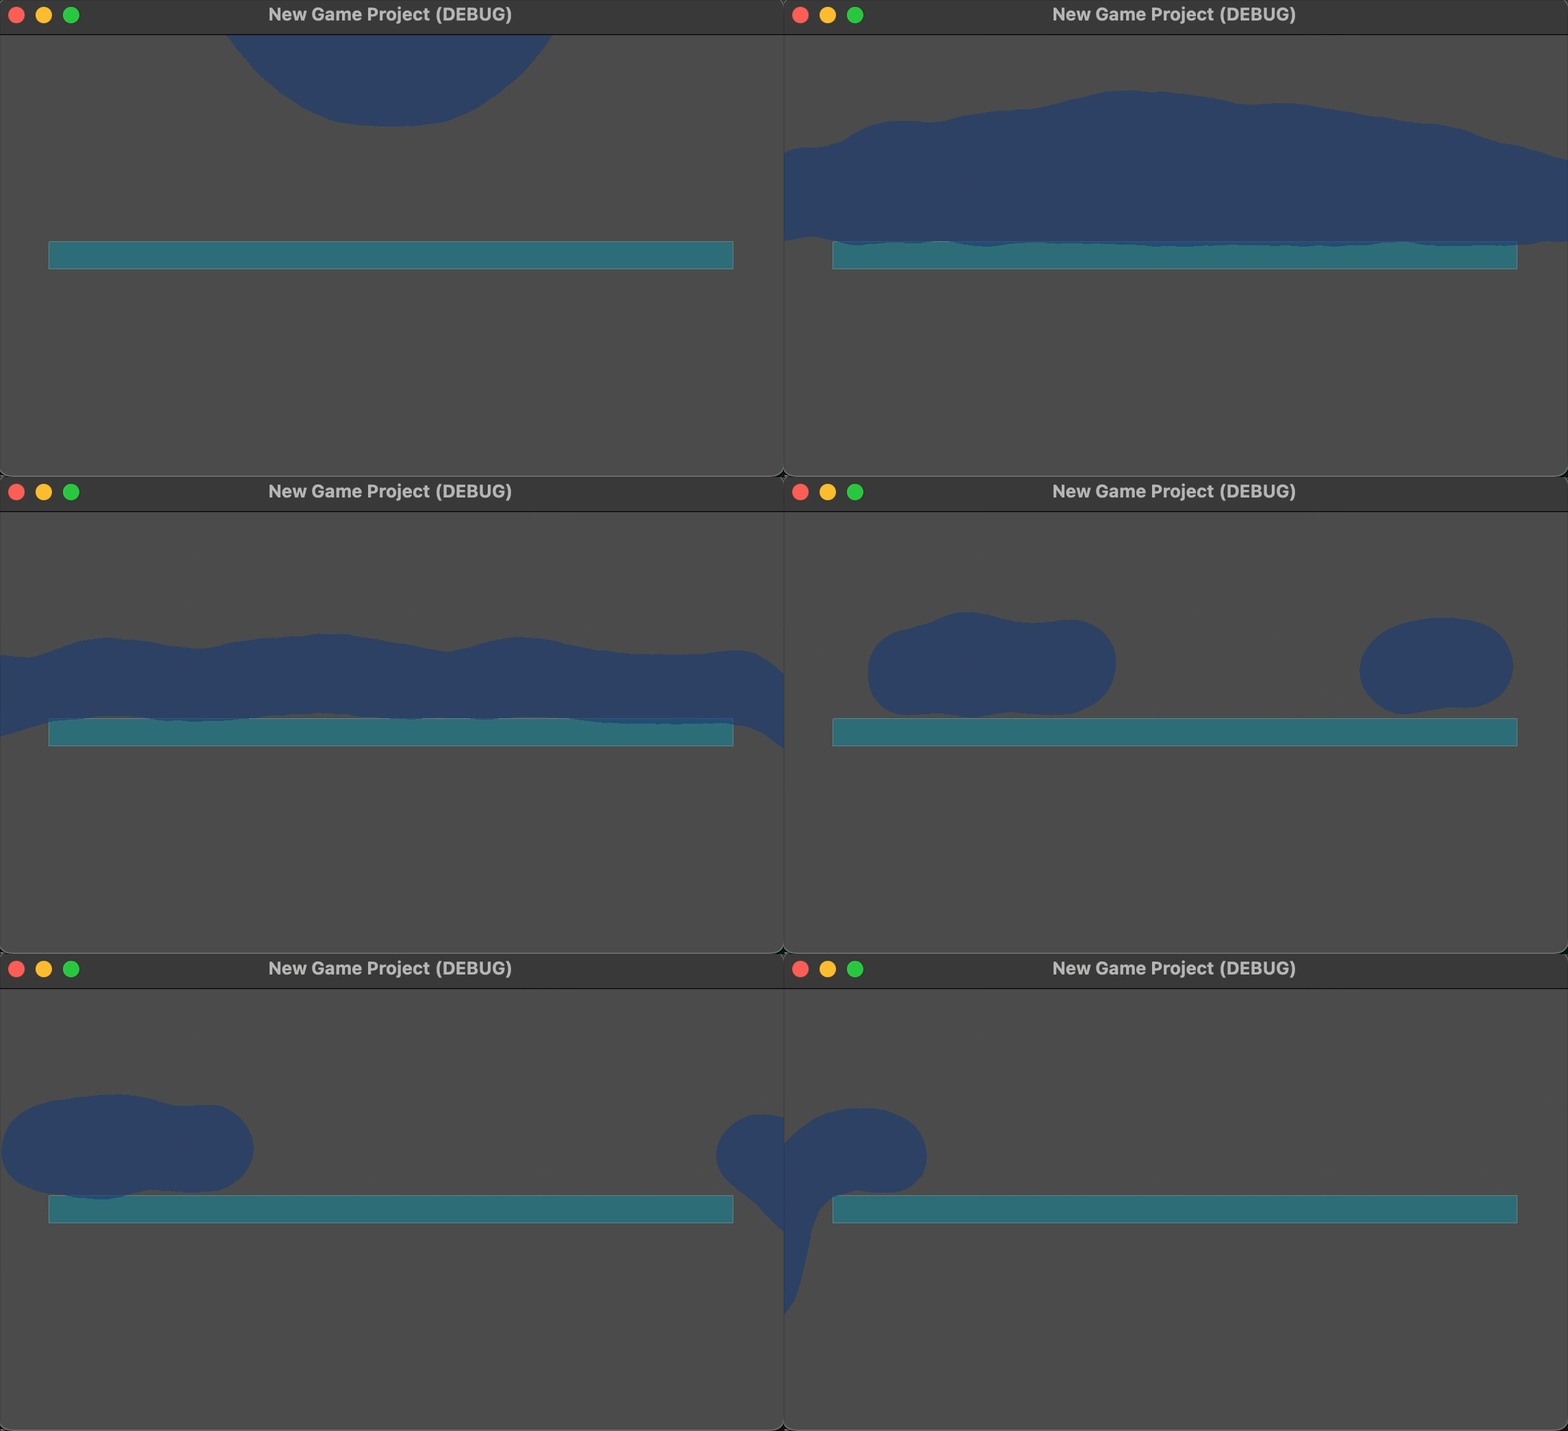
Changing the Fluid Particle Size
If you want to make the fluid particles smaller, go to Project -> Project Settings -> Physics -> Rapier -> Fluid -> Fluid Particle Radius 2D. By default it's set to 20. Note that setting this to a smaller value means you will need more particles to simulate the water, and depending on size of water could result in a bad performance.