Fluids
The Rapier Physics Server adds Fluid2D and Fluid3D nodes that make it possible to simulate fluids. Each fluid can have fluid effects, which are resources of type FluidEffect2D or FluidEffect3D.
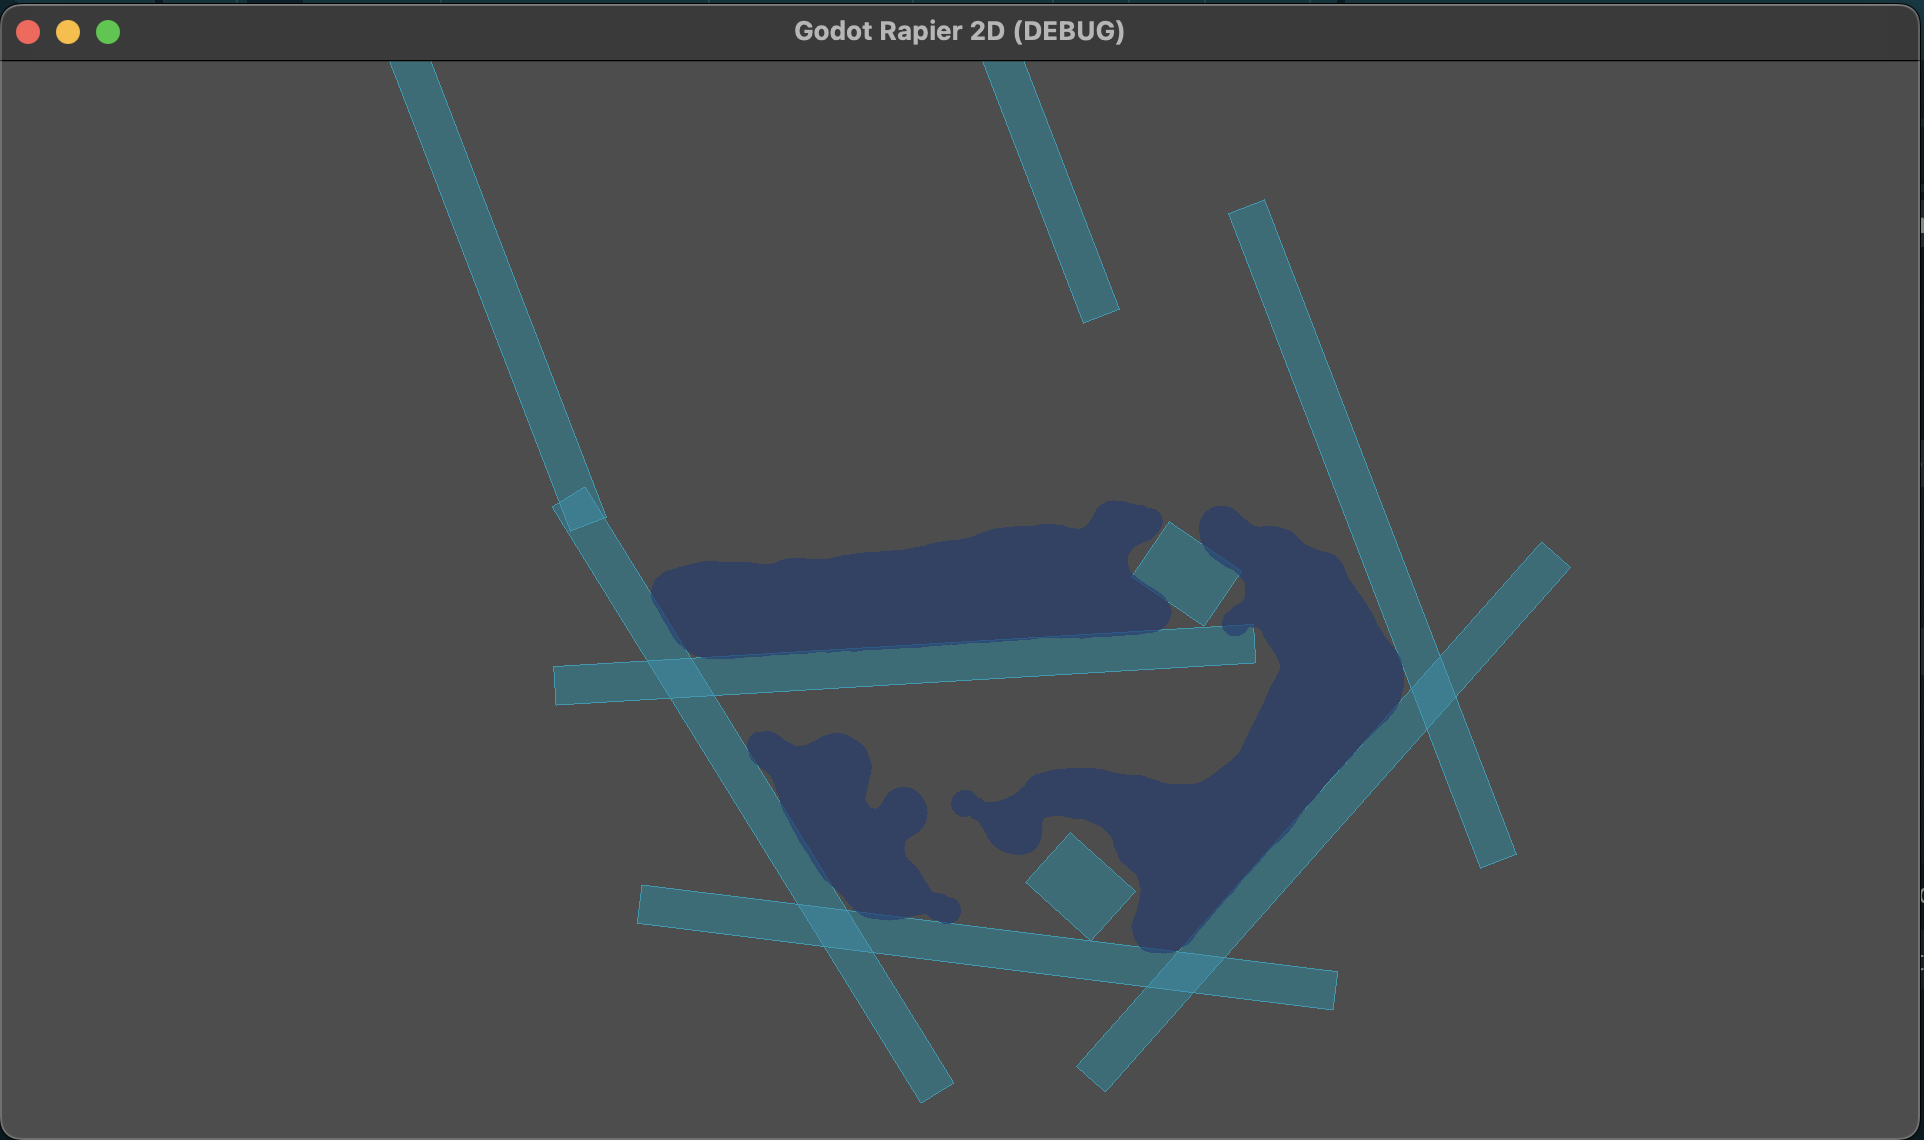
| Fluid2D | Fluid3D |
|---|---|
 |  |
Fluid Node
In order to simulate a fluid, first create a fluid node. This node has:
- debug_draw: Defaults to false.
- density: Defaults to 1, represents how heavy is the fluid.
- lifetime: Defaults to 0 (disabled), represents the time before the particles get destroyed.
- effects: The fluid effects to make either water or goo or elastic fluids.
- points: The fluid particles that make the fluid.
Fluid Particle Size
The fluid particle size is set in the Project Settings:
physics/rapier/fluid/fluid_particle_radius
Fluid Effects
The fluid can simulate elastic, viscous or surface tension. Also if it seems that the effect doesn't do much, try changing density of the liquid to 1000 (eg. water density).
Fluid Effect Elastic
The elastic fluid effect will keep the fluid close together.
Fluid Effect Viscous
This will make the fluid stick together.
Fluid Effect Surface Tension
This will make the fluid get attracted to other fluid particles, making surface tension. Too high values make the fluid explode.
Fluid Points
In order to simulate fluids, you need to add points. These can be created with the helper scripts, which you add on the Fluid node:
addons/godot-rapier2d/fluid_2d_circle.gd: Set a radius and it creates fluid particles inside the circle.addons/godot-rapier2d/fluid_2d_rectangle.gd: Set a width and height and it creates fluid particles inside the rectangle.addons/godot-rapier3d/fluid_3d_sphere.gd: Set a radius and it creates fluid particles inside the sphere.addons/godot-rapier3d/fluid_3d_box.gd: Set a width and height and depth and it creates fluid particles inside the box.
In order to see the points, don't forget to activate the debug_draw option on the node.
You can also simulate a faucet (that creates continuously fluid points), use the addons/godot-rapier2d/faucet_2d.gd or addons/godot-rapier3d/faucet_3d.gd class.
Fluid Renderers
The way the renderer works is it gets the points every frame and then draw an object for every point.
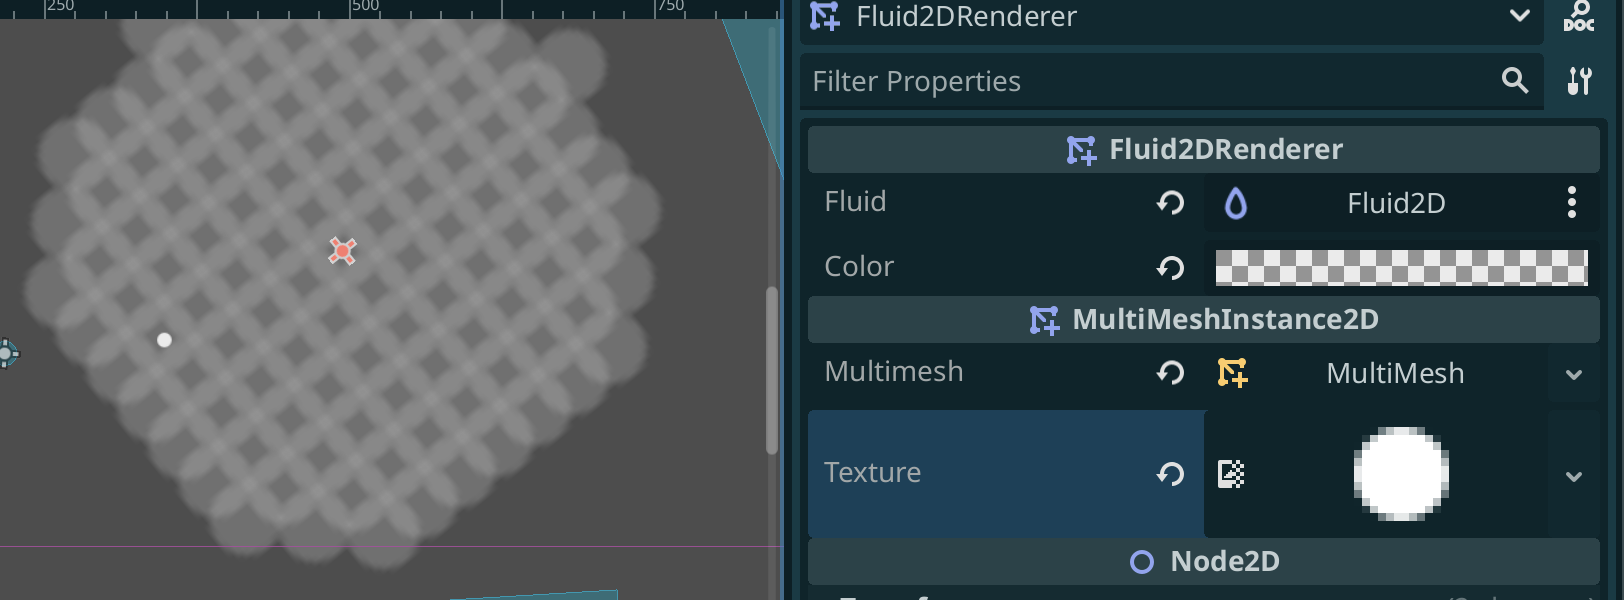
Fluid 2D Renderer
The most efficient way to render multiple objects is a MultiMeshInstance2D. The Fluid2DRenderer node is a high level helper for this. You assign it a Fluid node and a Color,
Fluid 2D Shader
If you want more realistic fluid, you can use the Fluid2DShaderRenderer, which uses a shader to draw the fluid. In order to set it up, you need to set the Fluid and the Camera property. Afterwards, run the program and see the fluid using a shader. Configure the shader by configuring the Water Material property (eg. you can configure the Water Texture property or make a new shader of your own).
If you don't have a Camera2D in the scene, create one.
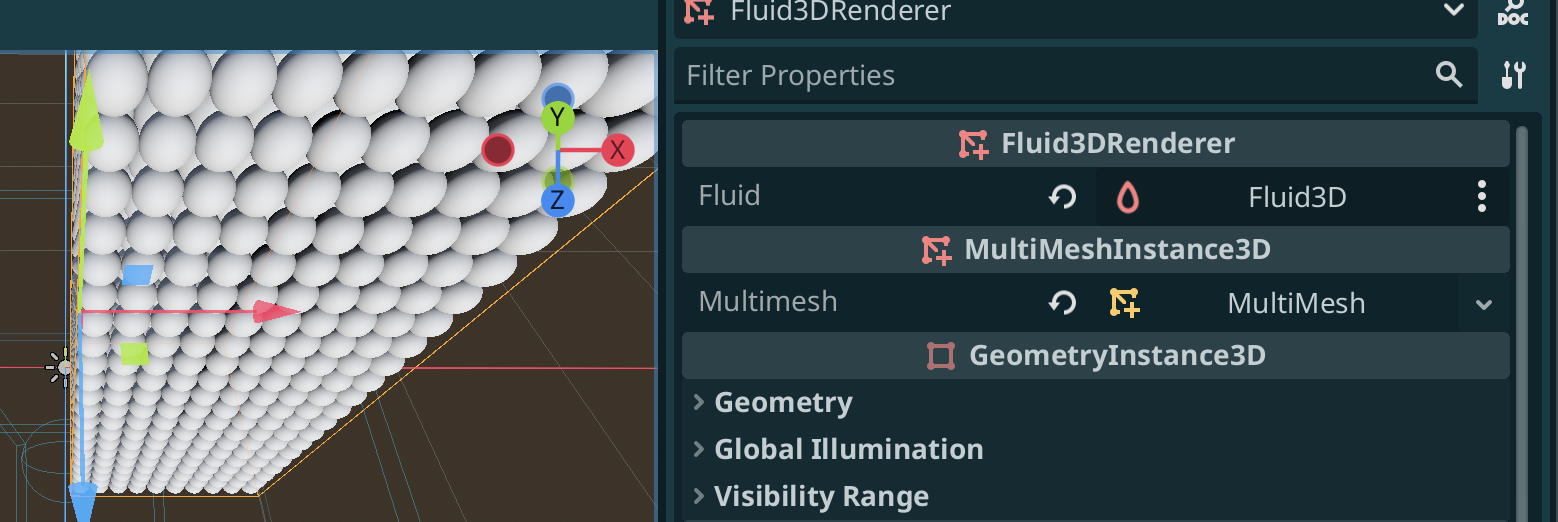
Fluid 3D Renderer
The most efficient way to render multiple objects is a MultiMeshInstance3D. The Fluid3DRenderer node is a high level helper for this. You assign it a Fluid node.